

Painting a motorcycle tank is one of the most rewarding DIY projects you can undertake. Whether you're looking to refresh a tired finish, customize your bike's appearance, or repair damage, a fresh paint job can completely transform your motorcycle. This comprehensive guide will walk you through every step of the motorcycle tank painting process, from initial preparation to applying the final protective clear coat.
Gather Your Materials and Tools
Before you start your motorcycle tank painting project, ensure you have all necessary supplies. You'll need sandpaper in various grits (220, 400, and 1000), a metal-suitable primer, motorcycle paint in your chosen color, clear coat, a spray gun or spray cans, masking tape, drop cloths, safety glasses, a respirator mask, and gloves. Investing in quality tools and materials makes the job easier and produces professional results that last.
Remove and Prepare the Tank
Start by safely removing the fuel tank from your motorcycle. Drain any remaining fuel completely and allow the tank to air out for several hours in a well-ventilated space. Once it's safe to work with, place it on a clean, flat surface. This preparation step is crucial for both your safety and the quality of your paint job.
Clean the Surface Thoroughly
Wash the tank with soap and water to remove dirt, grease, and debris. Use a degreaser for stubborn spots and contaminants. Dry it completely with a clean cloth. Any residue left on the surface will interfere with paint adhesion and create an uneven, unprofessional finish.
Sand the Existing Finish
Use 220-grit sandpaper to sand the entire tank, working in circular motions. This removes the old clear coat and creates a surface texture that new paint can grip effectively. Follow up with 400-grit sandpaper for a smoother base. Wipe away all dust with a tack cloth before proceeding to the next step.
Mask Off Areas You Want to Protect
Use masking tape and paper to cover any areas you don't want painted, such as the fuel cap opening or chrome trim. Take your time with this step—clean, precise masking lines result in professional-looking edges and prevent overspray on unwanted surfaces.
Apply Primer
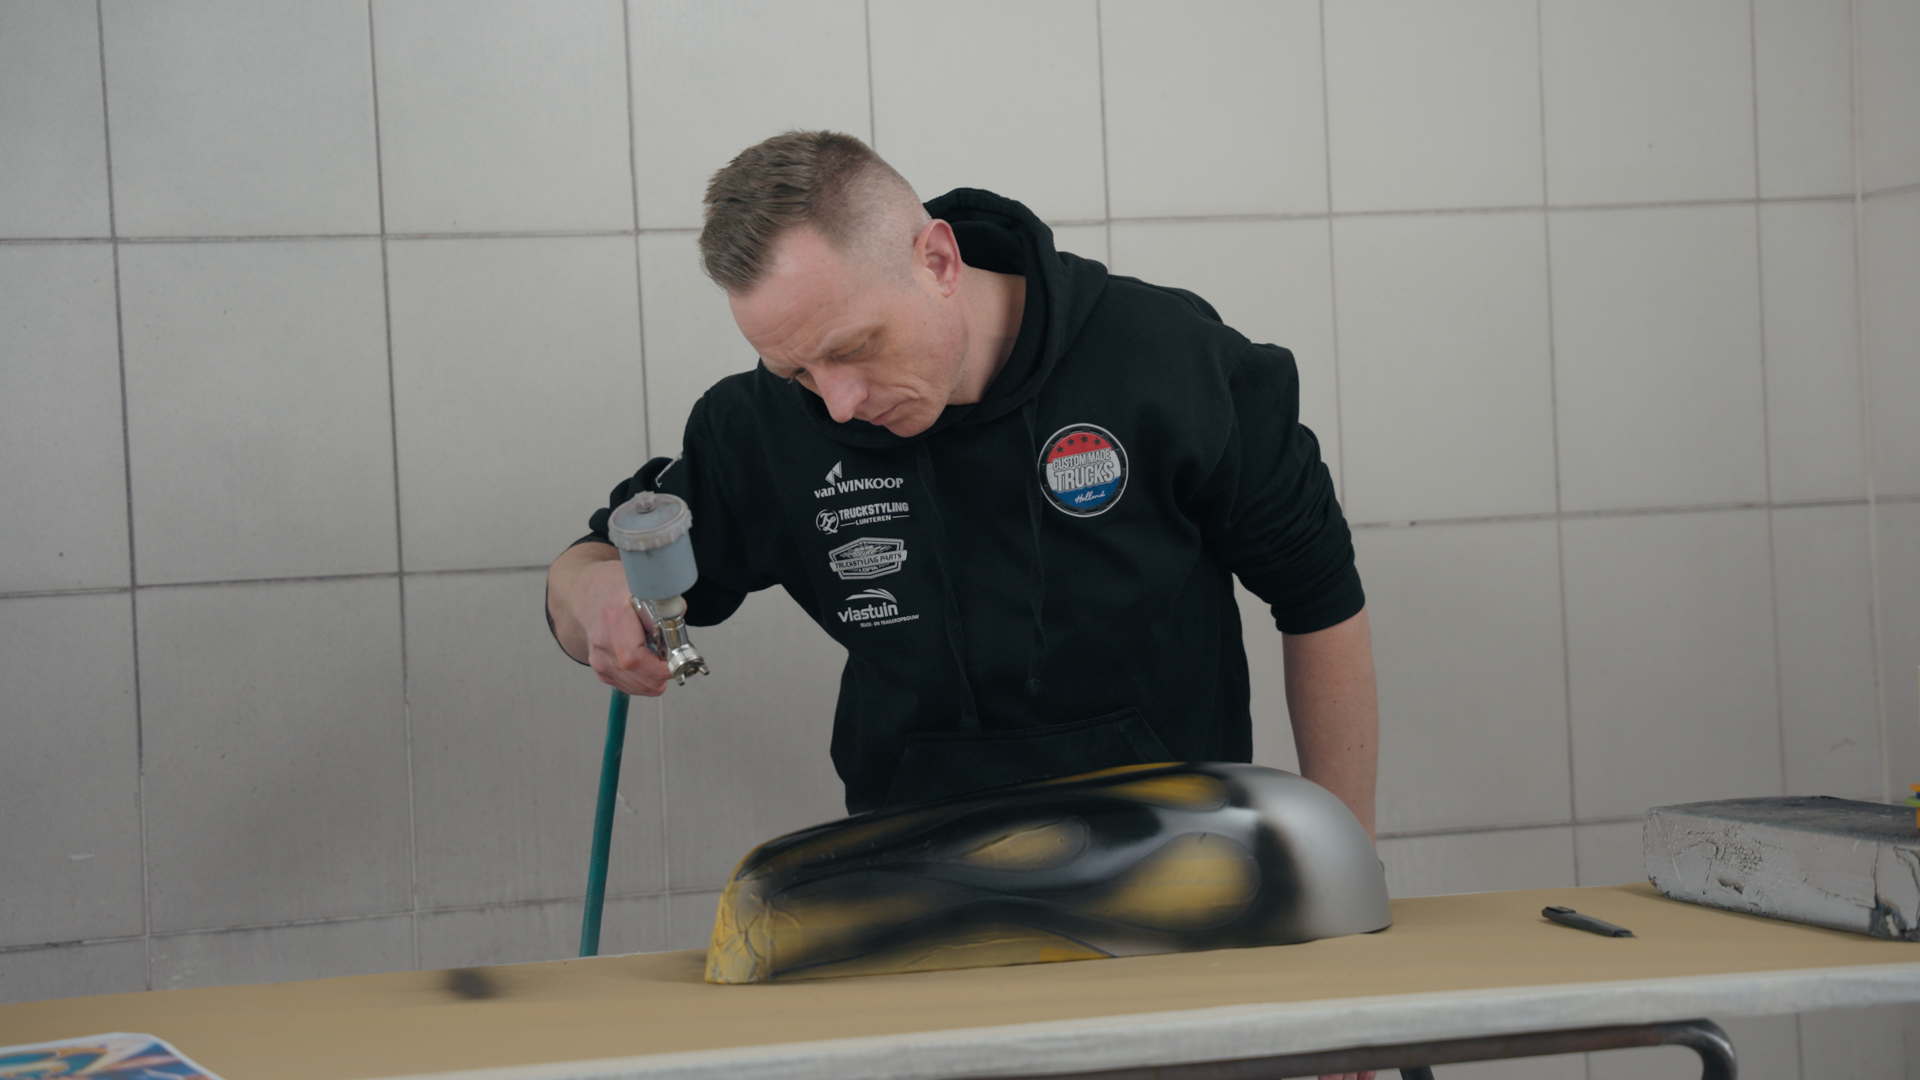
Apply a thin, even coat of primer to the entire tank. Hold the spray gun or can about 6-8 inches from the surface and use smooth, overlapping strokes. Allow the primer to dry according to the manufacturer's instructions, typically 30 minutes to an hour. Apply a second coat if needed for complete, even coverage.
Sand Between Coats
Once the primer is dry, lightly sand it with 1000-grit sandpaper. This creates a smooth base for the color coat and significantly improves paint adhesion. Wipe away all dust with a tack cloth before applying your color.
Apply the Color Coat
Now comes the exciting part of your motorcycle tank painting project. Apply your chosen color in thin, even coats. Start with light coats and build up coverage gradually rather than applying one thick coat. Allow proper drying time between coats as specified by the paint manufacturer. Most colors require 2-3 coats for full coverage and rich color depth.
Apply Clear Coat for Maximum Protection
Once your color coat is fully dry, apply a clear coat to protect the paint and give it a professional, glossy shine. The clear coat is the final protective layer that makes the difference between a paint job that lasts for years and one that fades and deteriorates. A quality clear coat shields your color from UV rays, road salt, moisture, and environmental contaminants that damage underlying paint. Without it, your custom color will quickly lose its luster and become vulnerable to chipping and peeling.
Use the same technique as with the color coat—thin, even layers with proper drying time between applications. Two coats of clear coat typically provide adequate protection. Our premium motorcycle clear coat is specifically formulated to deliver maximum UV protection and long-lasting durability, ensuring your tank maintains its showroom finish for years to come. It also enhances the depth and gloss of your color coat, giving your tank that professional, high-quality appearance that sets custom work apart from factory finishes.
Allow Proper Curing Time
This is where patience is essential. Don't rush to reinstall the tank or expose it to the elements. Allow at least 24-48 hours for the paint to cure fully. Some paints require even longer, so check the manufacturer's recommendations for your specific products.
Reinstall and Enjoy
Once fully cured, carefully remove the masking tape and reinstall the tank on your motorcycle. Take a step back and admire your work. A freshly painted tank can make your entire bike look new again and give you the custom appearance you've been wanting.
Pro Tips for Success
Work in a dust-free environment whenever possible to prevent particles from settling on wet paint. Temperature and humidity affect paint drying times, so check weather conditions before starting your project. Invest in quality paint and clear coat—it makes a noticeable difference in the final result and longevity. Practice your spray technique on cardboard before applying paint to the tank. Don't skip the prep work; thorough preparation is the foundation of a professional-looking finish.
Painting your motorcycle tank is an achievable DIY project that delivers impressive, lasting results. With careful preparation, quality materials, and patience throughout the process, you'll have a custom-painted tank that looks professionally done and protects your bike's appearance for years to come.